Finding the right proportions in portraits can be tricky. In this post you’ll find a few techniques that can help you draw your portraits using the right proportions, based on the golden ratio.
Many artists use carbon paper or light pads to trace the original photo and then color it, paint it or finish it using graphite pencils.
Even though it helps with the correct placement, I really advice every artist to not trace their reference photo’s, since it will not teach you to really draw yourself.
The techniques below help you to really look close to your subject when drawing and it enhances your skill to freehand draw.
The last technique (circle technique) furthermore helps you to draw even without a reference.
Just try out these techniques and see what they can do for you.
And remember: even when a drawing ‘fails’ it’s a door to success. Use your failed drawing to try out all the techniques you were afraid to try in a drawing that’s going well!
Using a grid
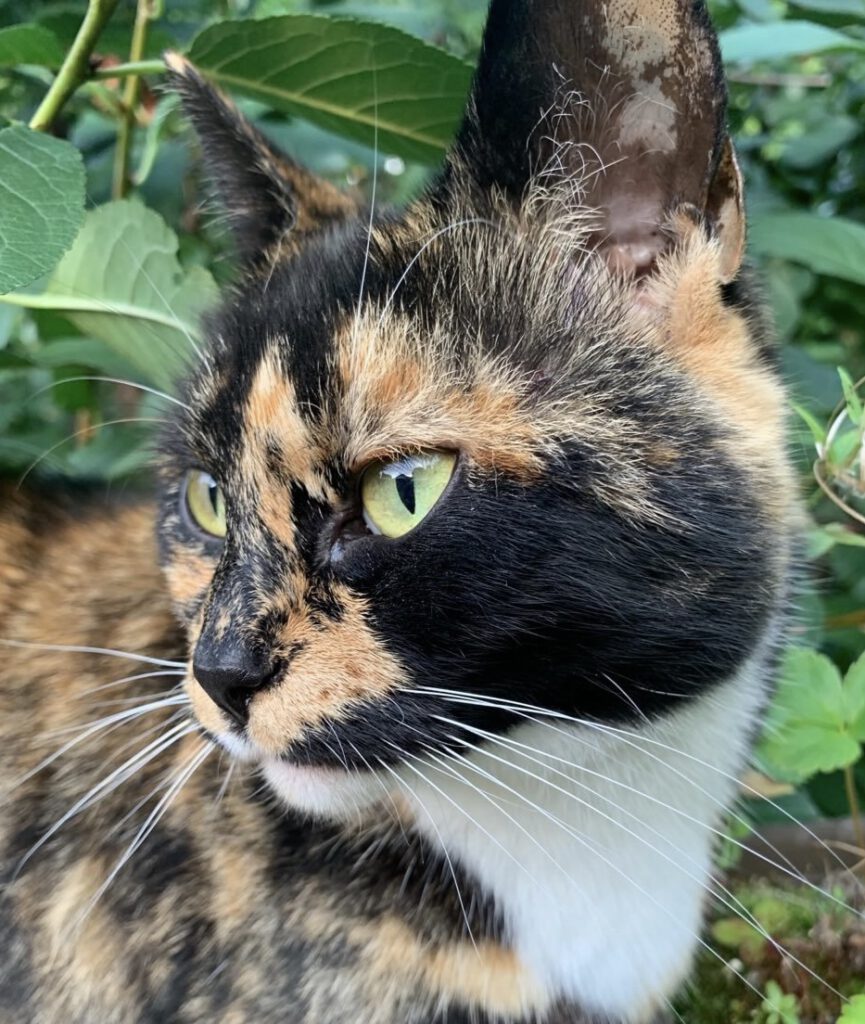
When drawing a portrait, whether it’s a human portrait or an animal portrait, based on a reference photo, make sure the quality of the photo is good if not perfect. Blurry photo’s lead to blurry artwork, since you cannot make up the details that lack in a photo. Obviously when you draw from memory or fantasy, this is not relevant.
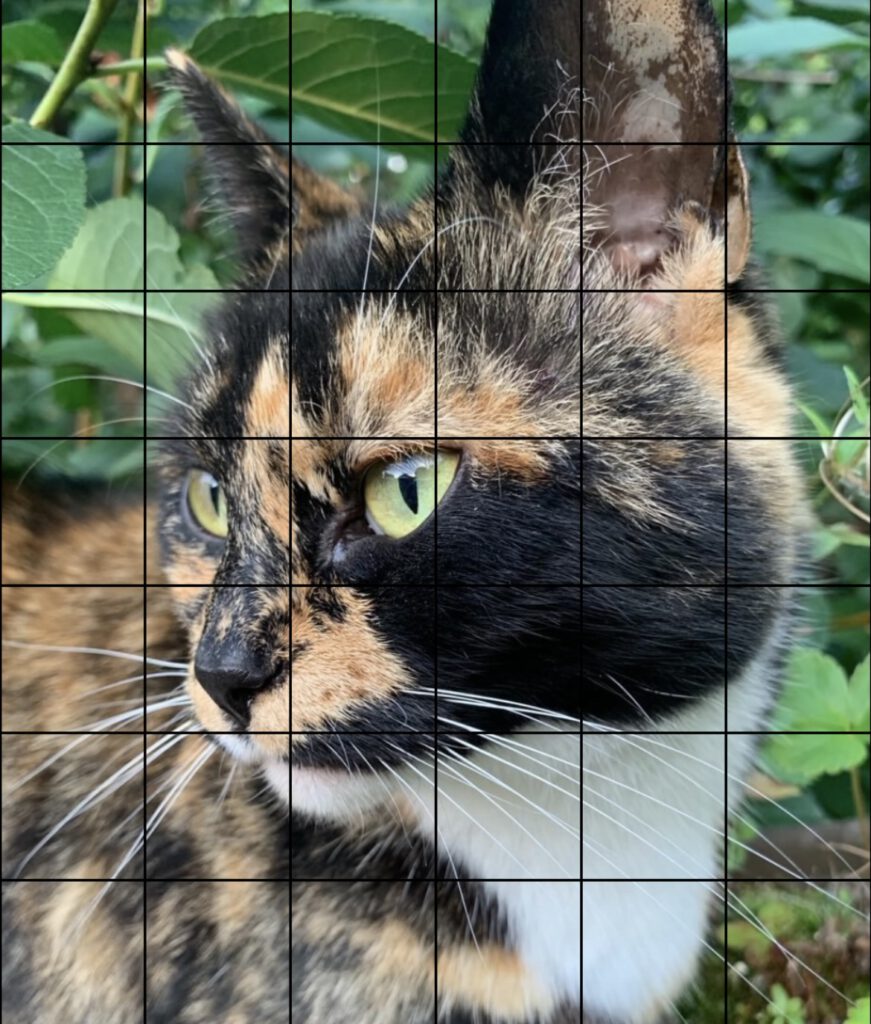
You can print out the photo and draw a grid on top of it, or you can use on of the many free drawing grid apps for your phone, computer or tablet. I use Drawing Grid Maker for Android, which helps me to achieve a quick and suitable grid for my photo’s. I work from my tablet but if you prefer, you can print the photo with the grid as your reference
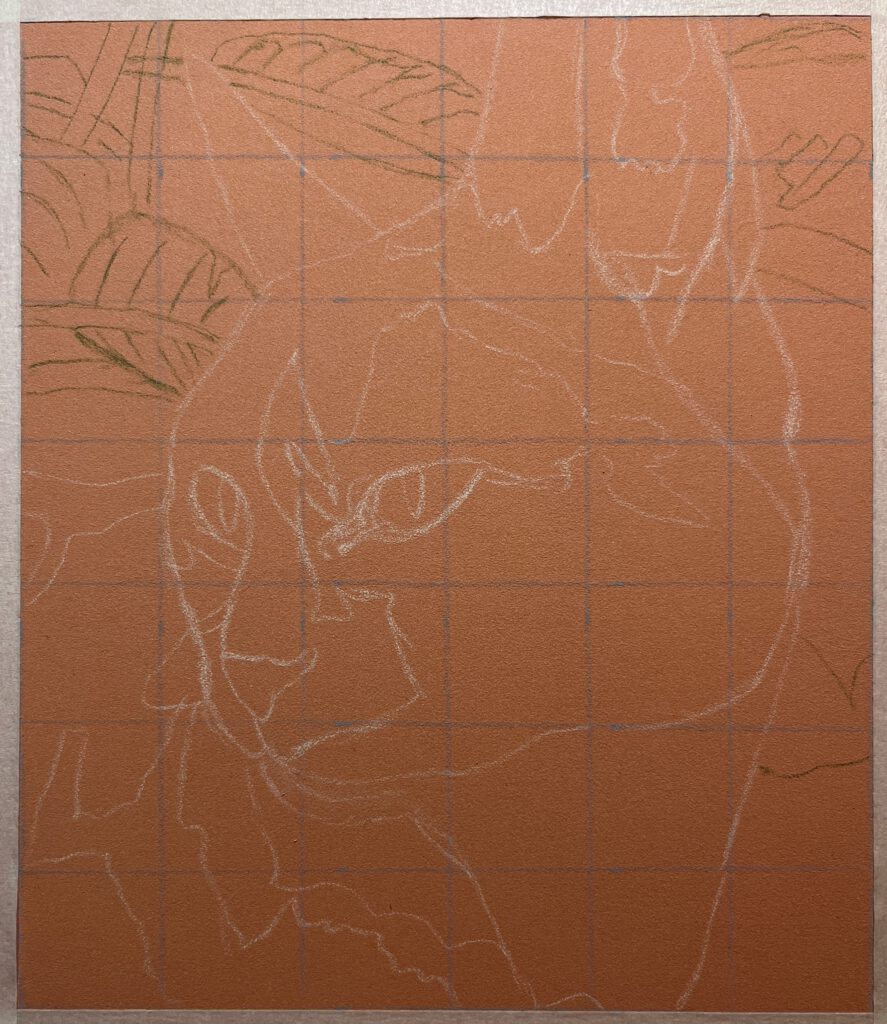
Then you take your drawing paper and draw a grid on that. You don’t need to match the exact size, only the exact number of rows and columns (and the squares for the grid). Then you draw the outlines, matching those in the photo. After that, you draw in all the major lines in the subject you need. When working in pastels, I sometimes draw my sketch in different colors, matching the colors of the reference photo.
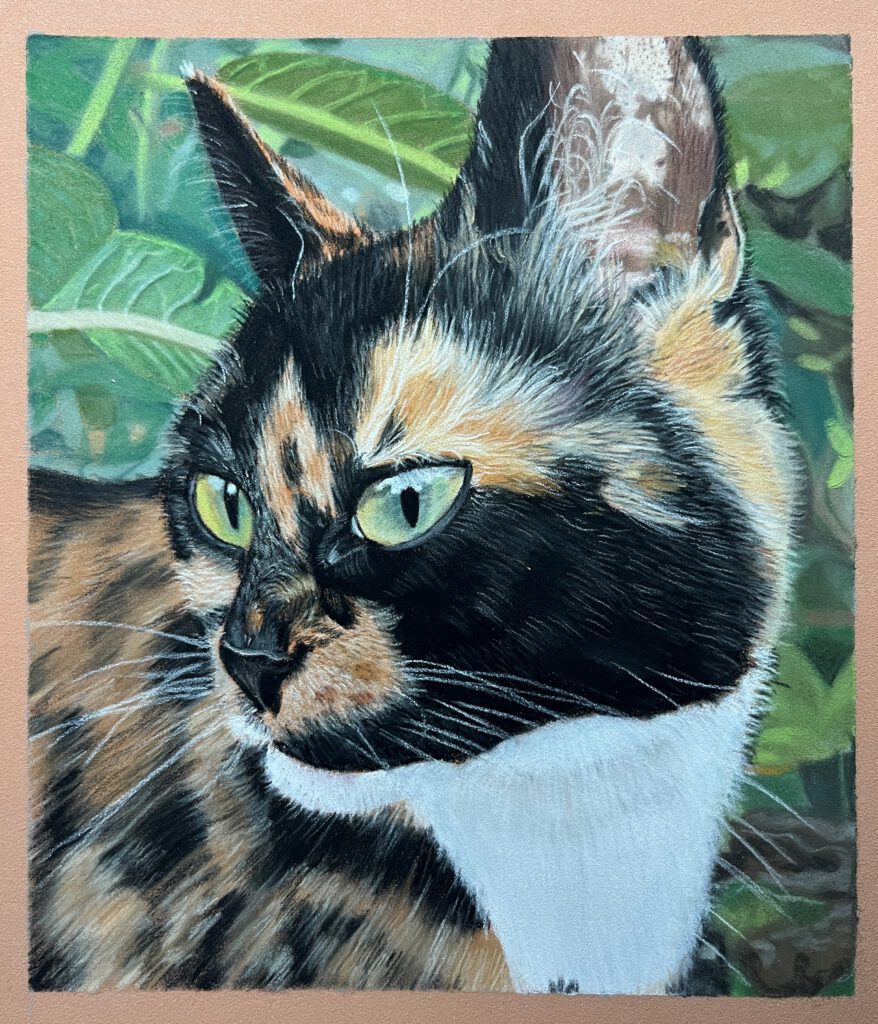
I’m skipping the entire drawing process to show the end result of the drawing. A grid can definitely help you put everything in the right place. Once you’ve done a bunch of drawings based on grids, you’ll find that you start to get the whole proportions idea and that you are more and more able to sketch the right proportions without using a grid.
Enveloping technique
The enveloping technique is all about adding outlines to your subject and adding more lines as you work towards your final sketch. In the examples below I’ll explain the technique using both photo’s as adding the stages of sketching while using the enveloping technique
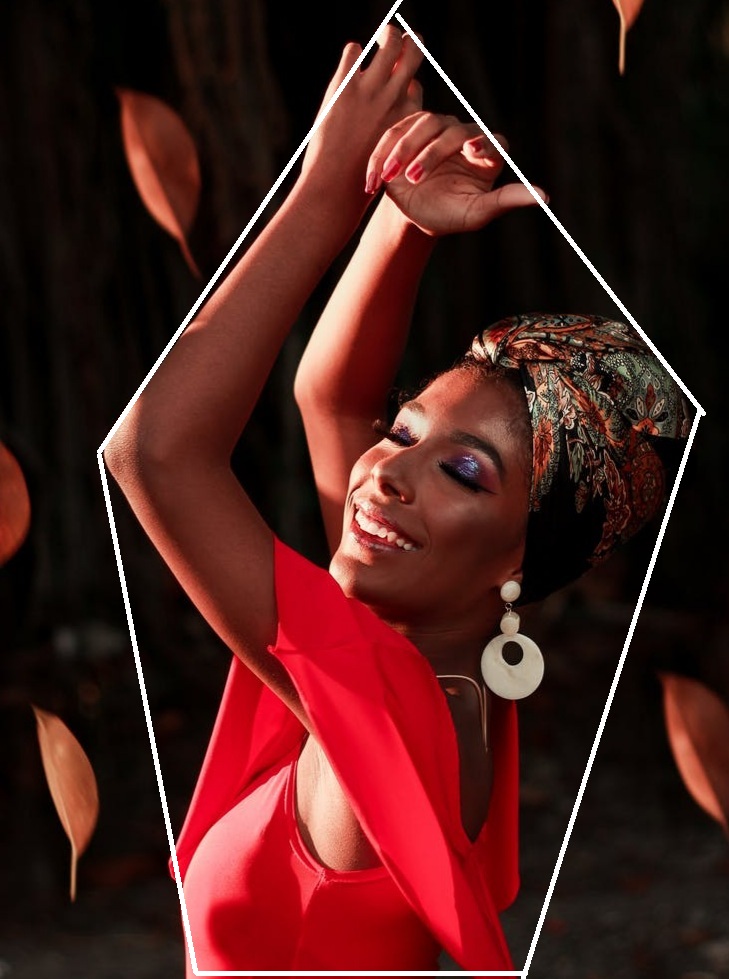
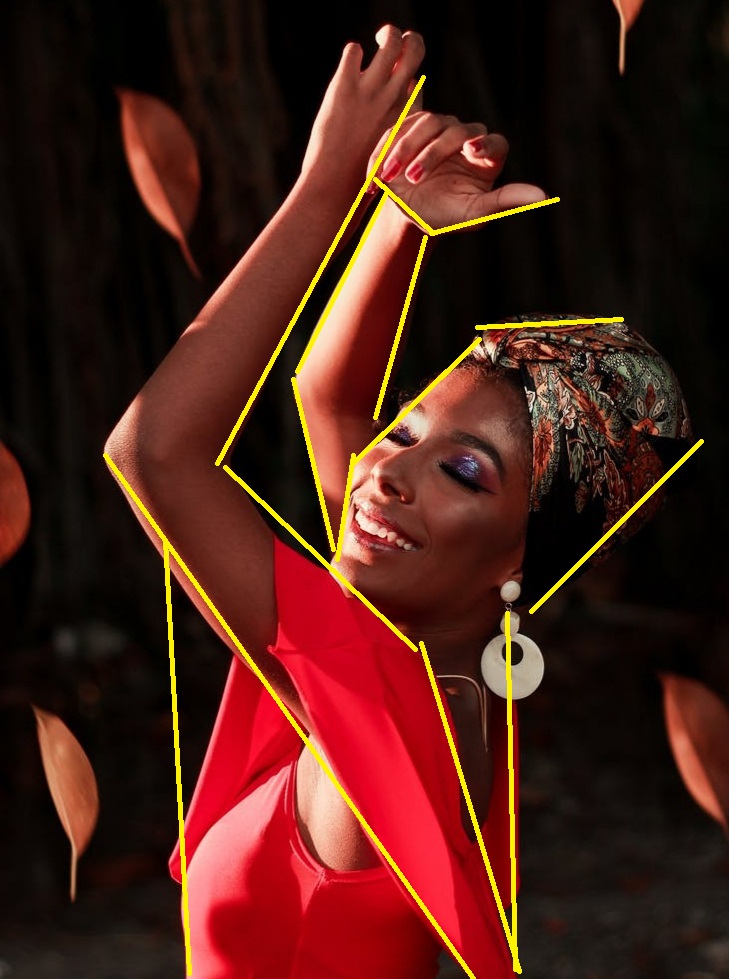
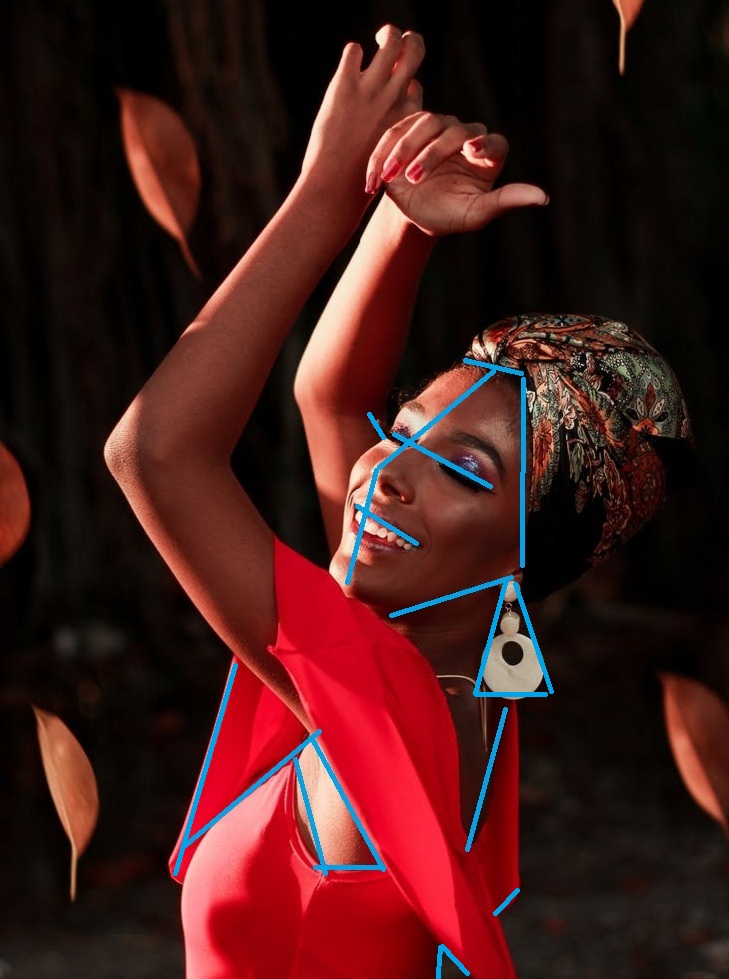
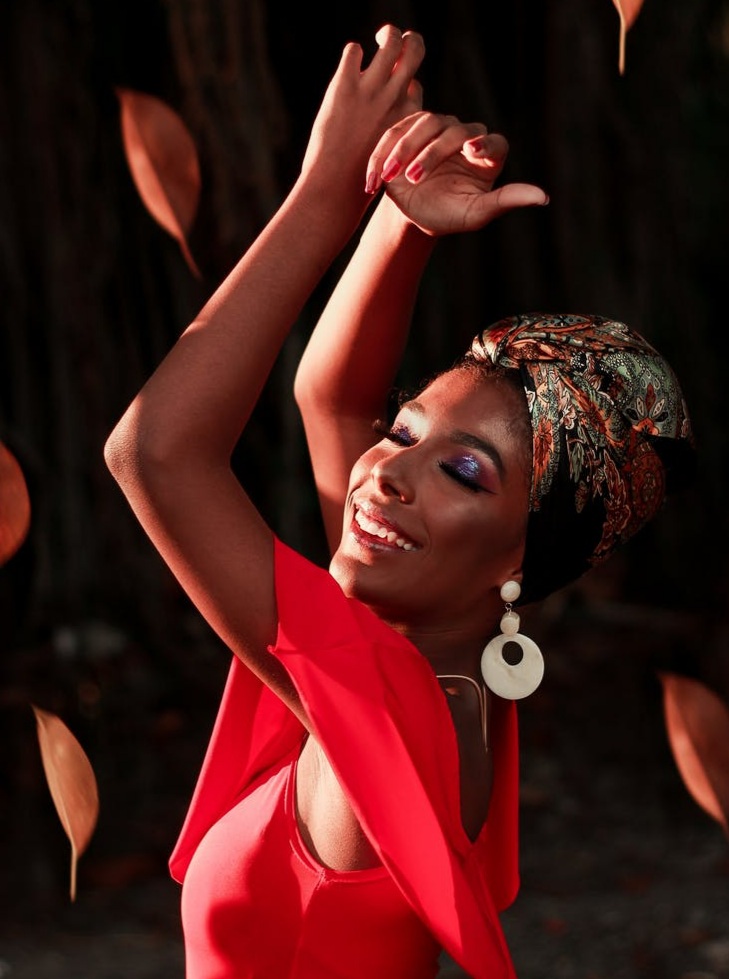
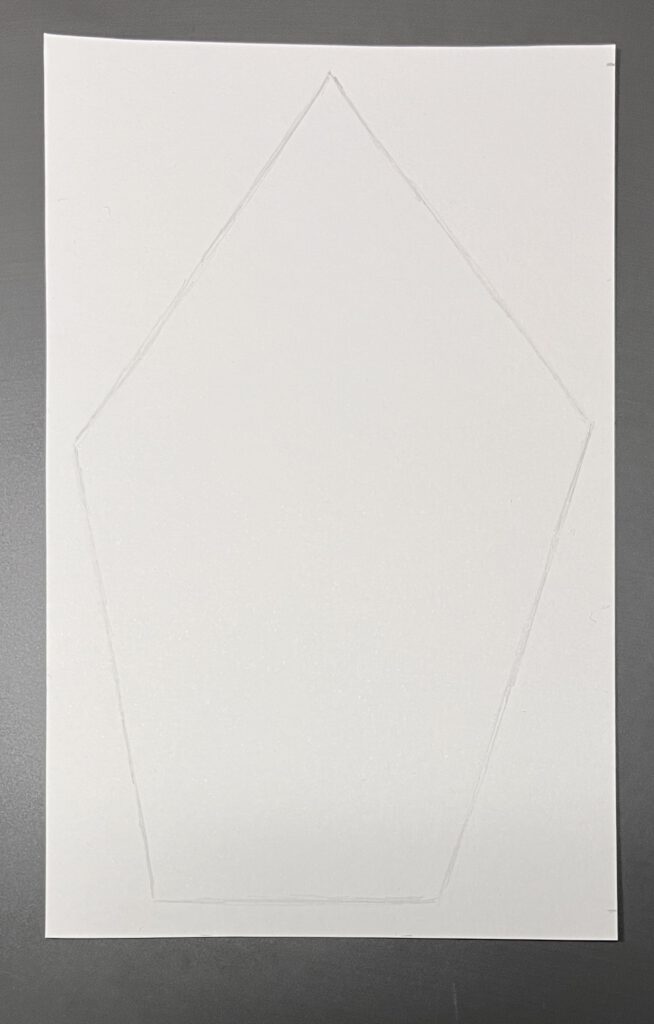
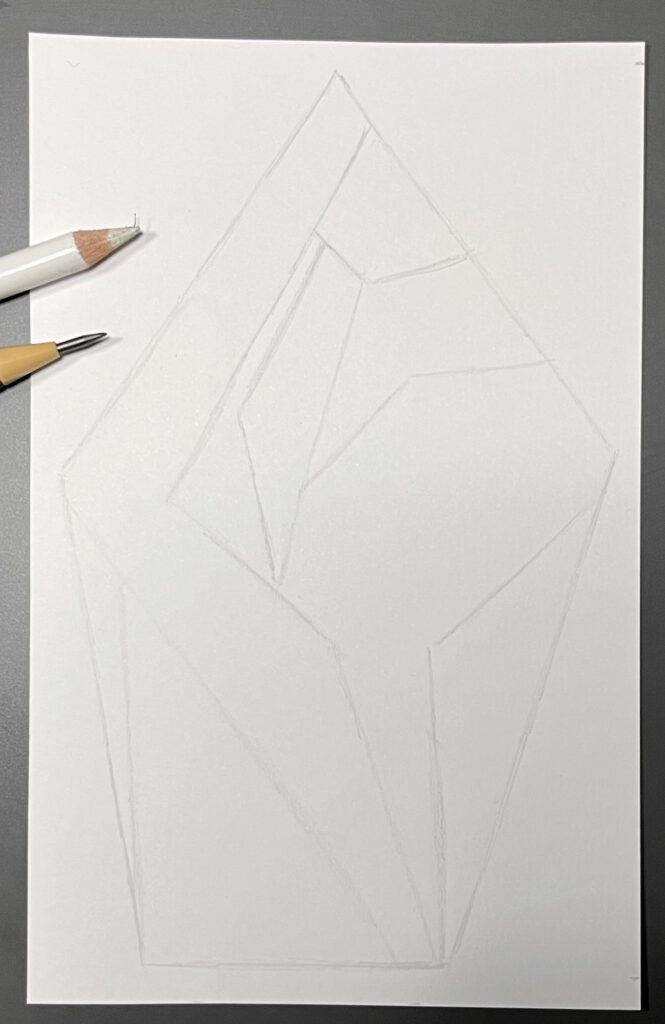
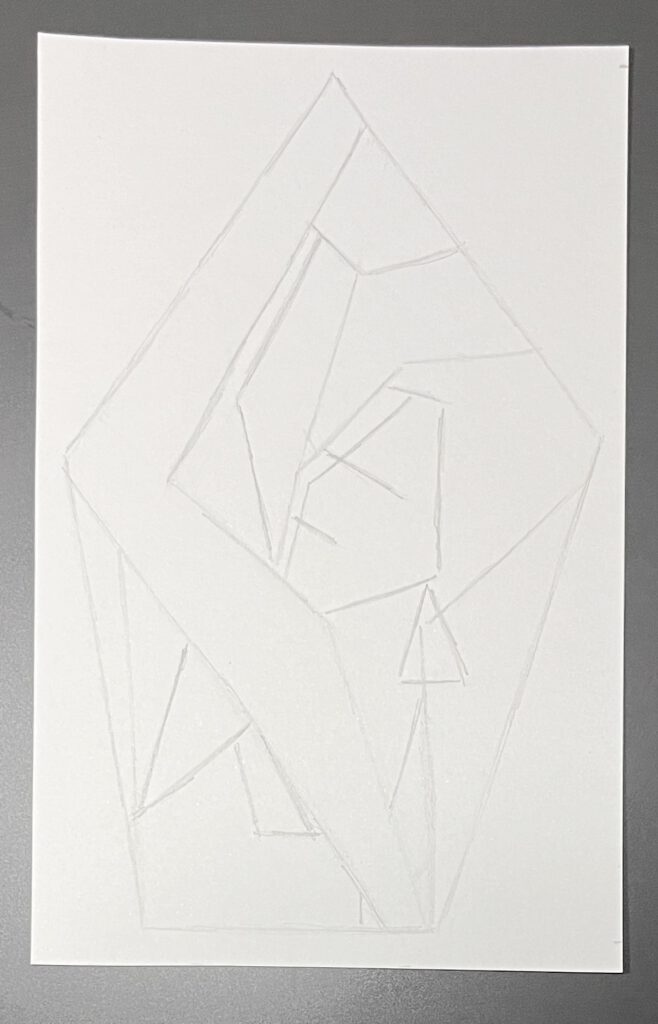
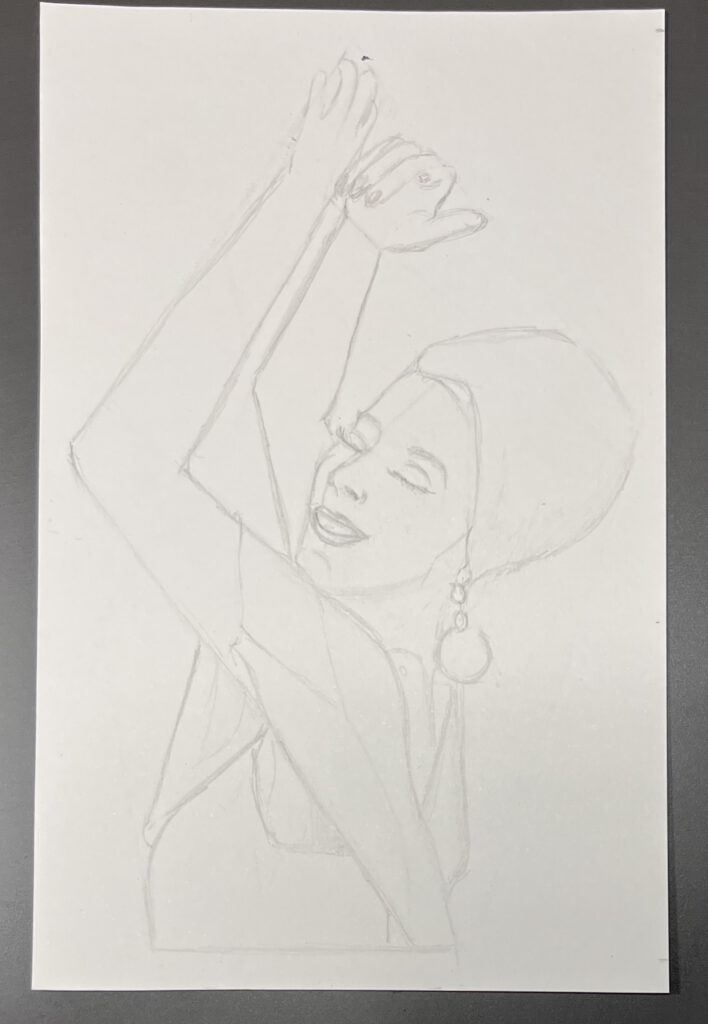
As you can see in the photo, the first stage is all about outlining your subject. Approximately add in length and direction of the ‘envelope’ surrounding your subject. Once you’ve done that, you’ve basically determined your drawing area.
Working from the first outlines, you can add the major lines in your subject, as I chose in the photo and as I sketched on my paper. Don’t worry about roundings, shapers or whatever. Use your pencil to decide where a line should start and what angle to use. Don’t bother using a ruler (but if you want, you can, obviously).
After the second layer, try looking at the next set of detailing lines. With these lines you try to take into account the direction of roundings, perhaps major shades, position of specific elements etc. Most artists will have enough to work with when this stage is completed.
Use your eraser to erase all (help)lines from the enveloping that you no longer need,
This should leave you with a rough sketch of your subject, from where you can add roundings and details as you please.Or leave it to this abstract drawing and paint or color your artwork.
Circle technique
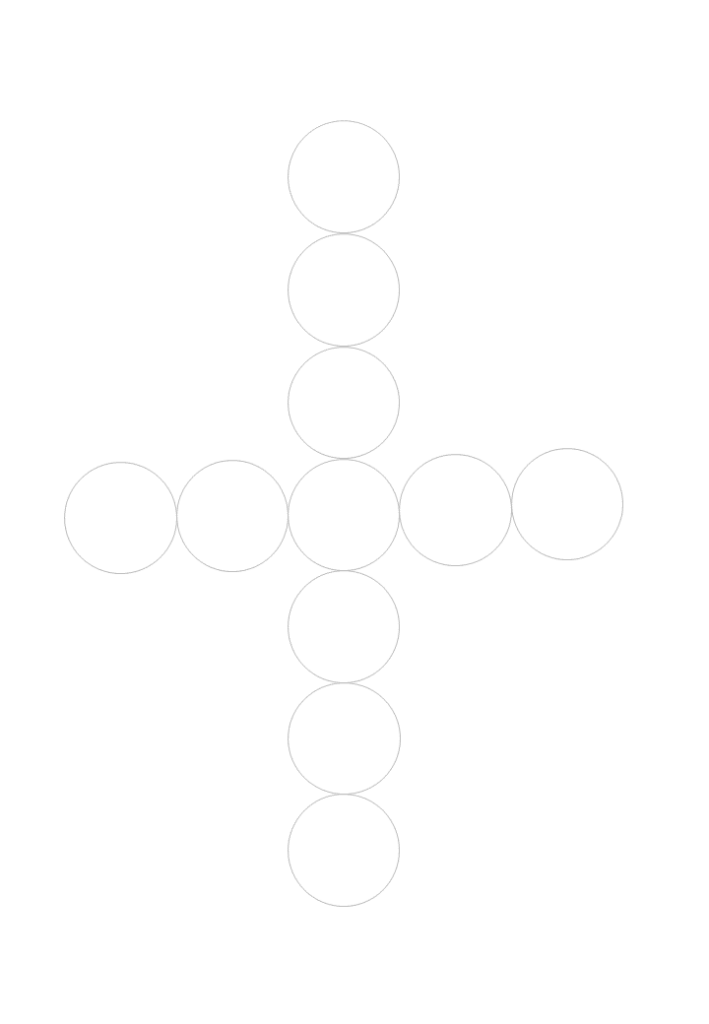
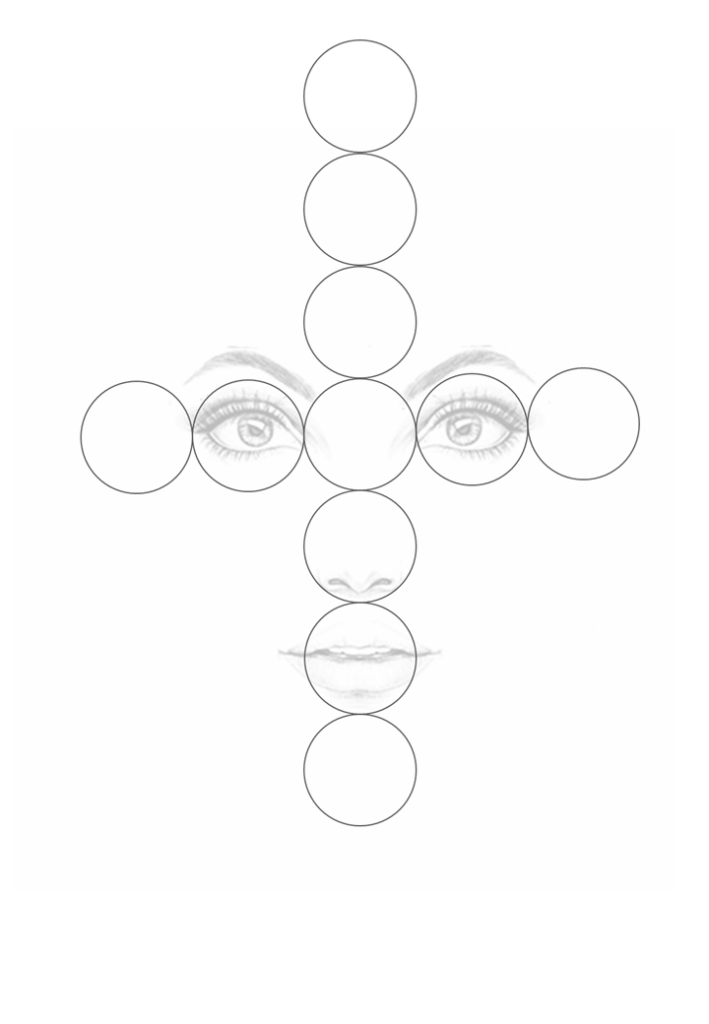
The circle technique is based on the golden ratio. Using the golden ratio rules, the face consists of 7 equally ‘slices’. The width of the face is 5/7th of the height and the eyes should be in the middle
So if you draw 7 equally sized circles in a vertical row and 5 in a horizontal row in the middle of the vertical row, you create the guiding lines for the facial features, like the eyes, the nose and the mouth.
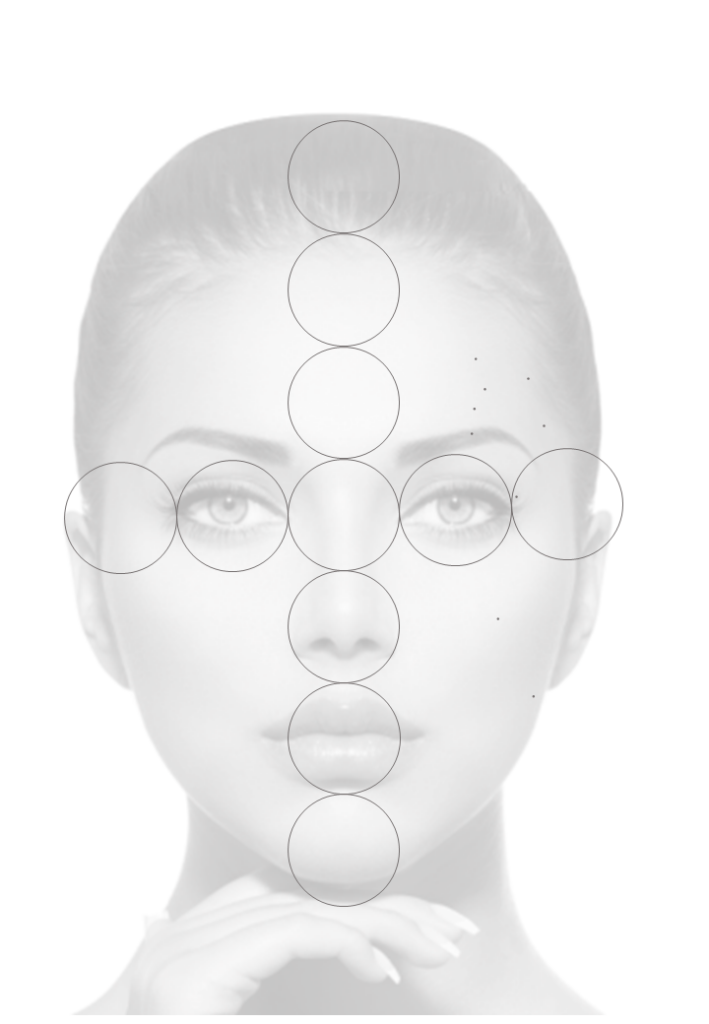
The space between the eyes is has the same width as the eyes themselves. The nose has the same width as an eye, thus uses it’s entire circle. The mouth corners approximately end where the pupils start. The forehead covers two circles, where the eyebrows are right above the eye-circles.The hair covers the top vertical circle, while the chin takes up the lowest vertical circle
If you place a photo behind the two circle rows, you see how perfectly the circles line up with the facial features as described for the previous photo.
Once you’ve memorized the golden ratio placement, all you need to do is (freehand) draw those circles and everything should be in place.
